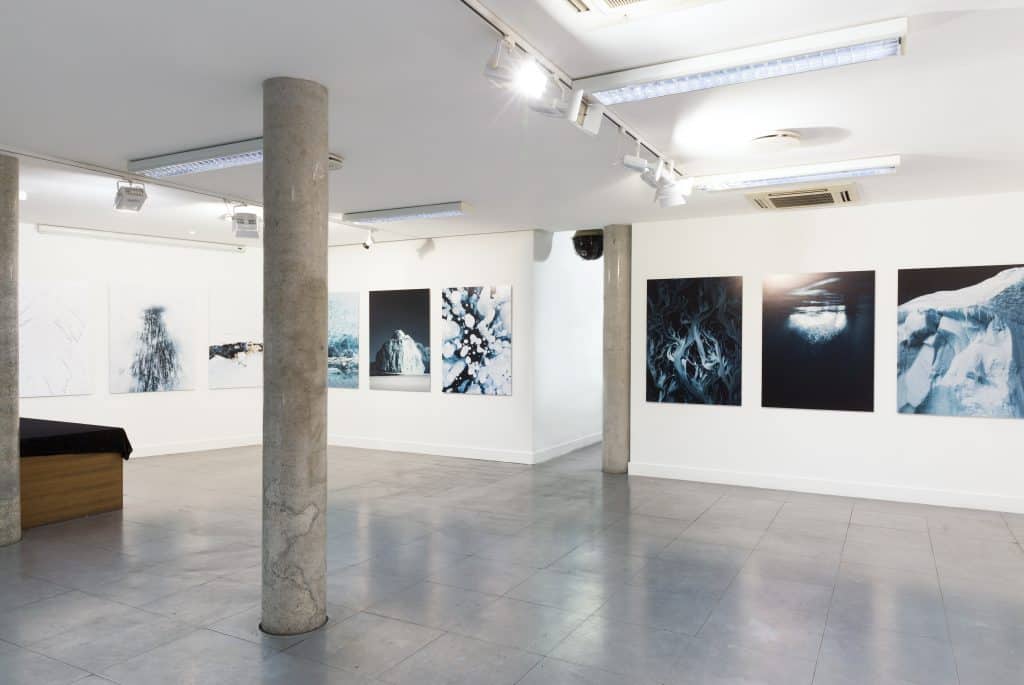
1. Know your space
Before you can start planning your layout, you will need to know your width, length and height of your allocated space from which you can distinguish your display area.
When you have a wall of 4m wide by 3m high, this doesn’t necessarily mean you have an exact total of 12m2 display area available. You need to think about the space between the prints, the edges from the wall to the first print on each side and also the floor and ceiling.
Even if you don’t have much space to work with, you can still claim the attention and get talked about. Find that balance between striking people’s attention in a short amount of time and not overcrowding the wall. Sometimes this means focussing on using key images from your project rather than all of them. To do this, decide on your standout images and your print sizes so you have a fixed selection of images ready to work with when it comes to the installation.
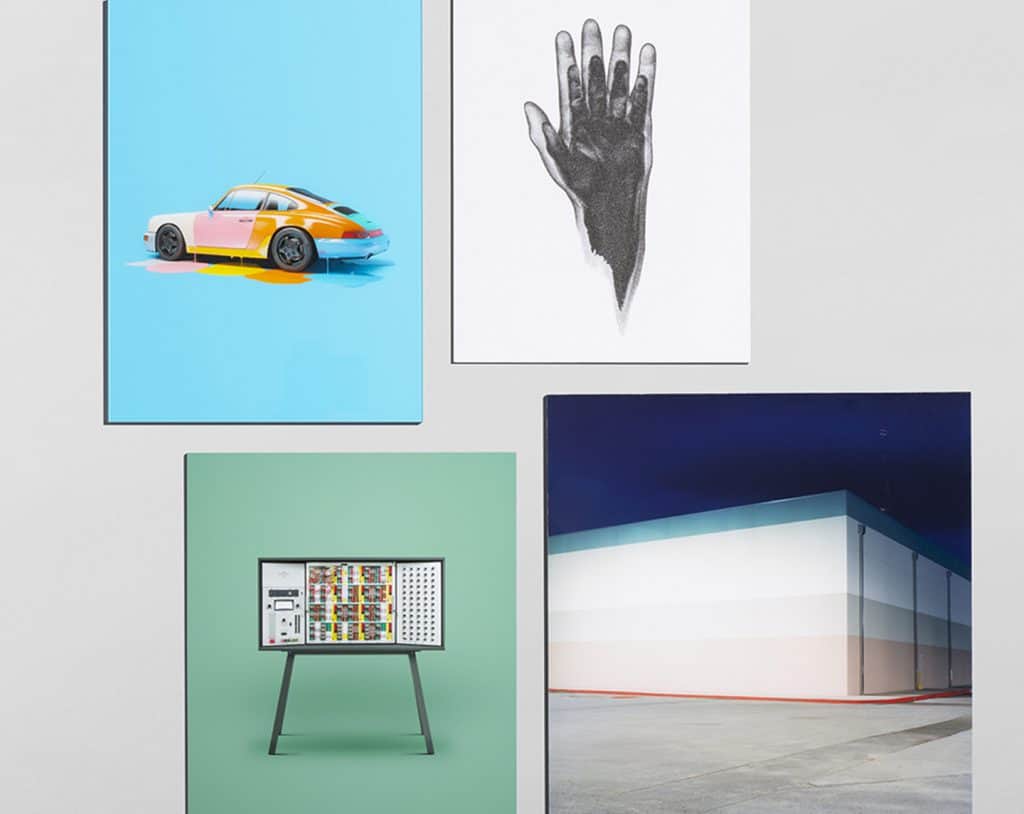
2. Choose your paper
At theprintspace, we offer 2 types of printing processes; C-type and Giclée. For these printing types, we have 11 best-in-class professional archival papers, each with unique traits. The most commonly used process by photographers is C-type, with illustrators and graphic artists tending to favour Giclée prints.
C-type prints are continuous tone, meaning they can produce subtle colour gradients, shadow detail and a 3-dimensional photographic feel that a Giclée would find hard to match. However, Giclée photographic prints can surpass what can be achieved with C-type in terms of colour gamut, which really helps if the image has strong saturated colours.
As a general rule for C-type prints, choose matt or semi-matt for black & white and gloss for colour. For those wishing to recreate rich black and whites or saturated colour, go for a Giclée. Our insider tip for photographers looking to print on Giclée is the Hahnemühle Pearl for colour images and Hahnemühle Photo Rag for black and white.
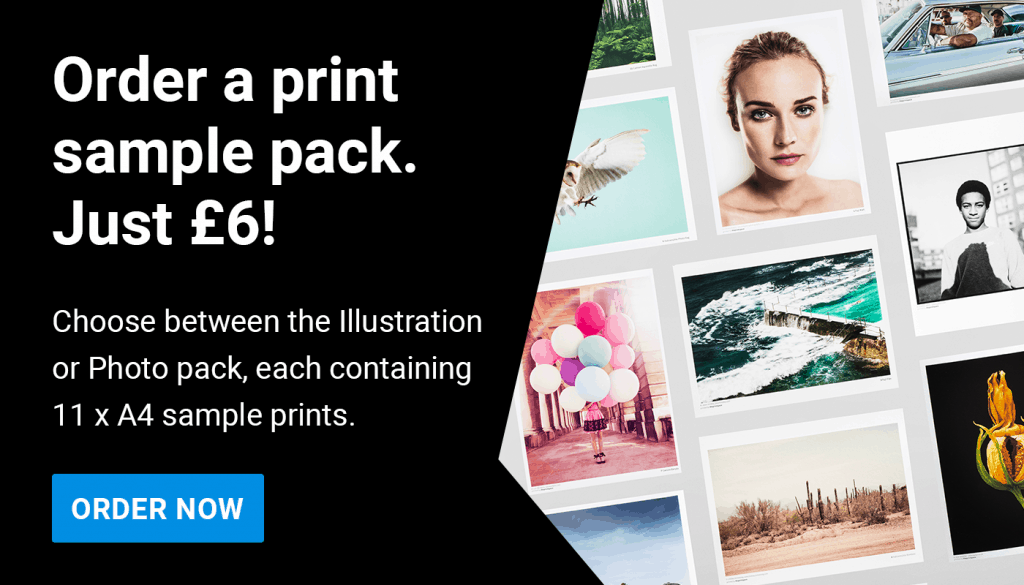
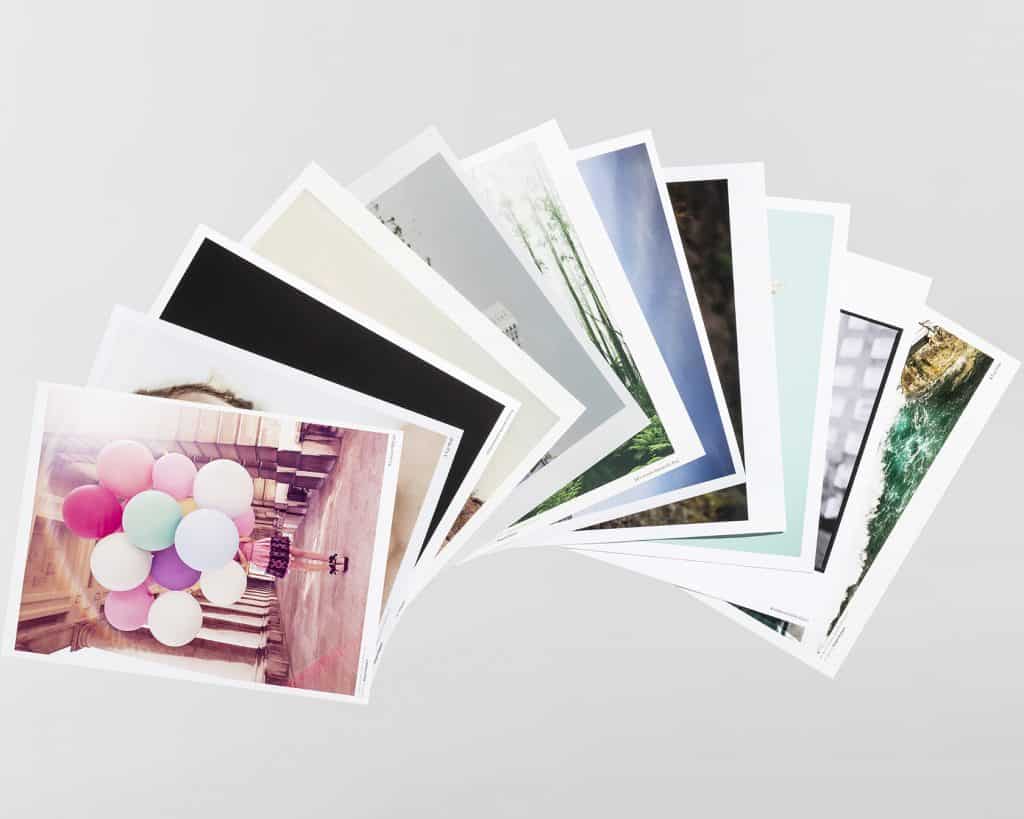
3. Make some test strips
Choosing your preferred paper type can be tough! If you are undecided between several paper options, making some test strips is the safest way to make your final choice and will help save you time and money in the long run.
At theprintspace, we offer test strip service on all our paper types as 30-inch by 4-inch strips. It is key that you select an area of your print that contains highlights, midtones and shadows to check the tonal range of your prints. Make sure you size them in Photoshop and the correct print profile has been applied before you upload them to creativehub.
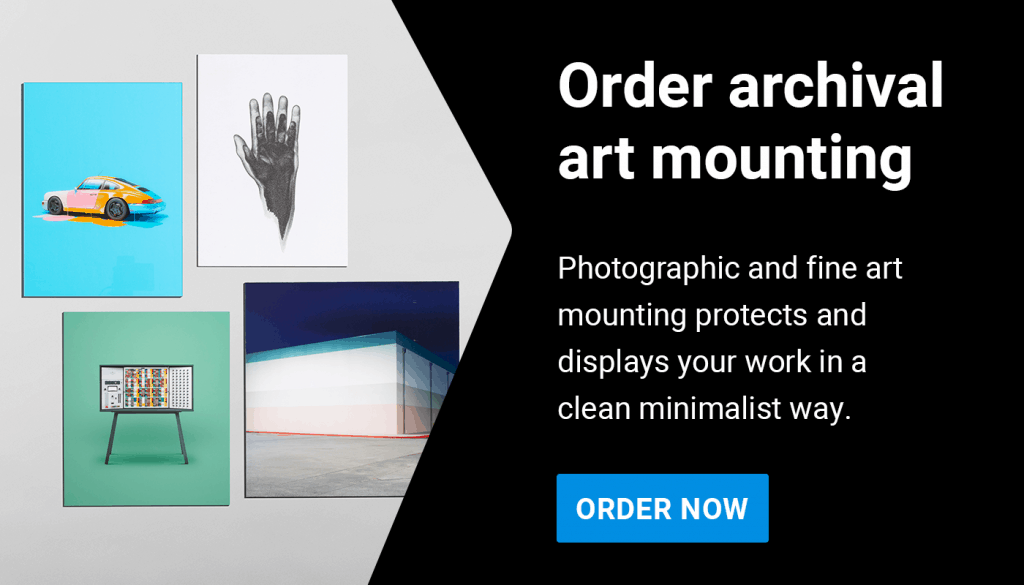
4. Display options
When it comes to display options there are no rules. However, mounting is often used for short exhibitions or pop-ups and framing is chosen for more permanent displays.
Mounting your work is a contemporary, cost-effective way of displaying your prints for an exhibition. By dry mounting a substrate (backing) to your print, a certain amount of depth and dimension is added to the print as well as physical weight. The additional added depth will make your print stand out more, in contrast, to directly installing a print onto the wall. For this, we recommend going with the Foamex mounting material.
If you are looking for a more traditional display, consider having your work framed. Adding a frame encloses your artwork, protects it and creates a more substantial object from your print.
5. Provide Context
As an artist, you will always know exactly what your exhibition is about but your guests will often need more information. An extended caption outlining what the subject is ideal for providing the audience with some context. Some key points to include are who, what, when and where. The best place for the extended caption would be at the beginning of your exhibition so that visitors know exactly what they are looking at when they go through your work.
For further context, pair this up with smaller captions that provide direct information on what each piece is about. These can sit under your print in the left corner or next to your prints alongside the bottom edge. Try to not make them too big as they shouldn’t take away the attention from your art pieces.
6. Get people to your private view
You want to build up a nice amount of momentum around your show, so start creating awareness as soon as possible. Instagram, Facebook and Twitter are the three main platforms you can use to promote your event. Instagram’s story function is very useful to keep people in the loop and to show what you are doing behind the scenes. Showing little teasers here and there will spark people’s interest to keep following you for what is to come.
In all your posts you want to include a CTA (call to action) that guides your audience to somewhere where they can RSVP. Set up a Facebook event where you can direct people who wish to attend to and have them sign up. Leading up to the opening of the exhibition you will know roughly how many guests to expect.

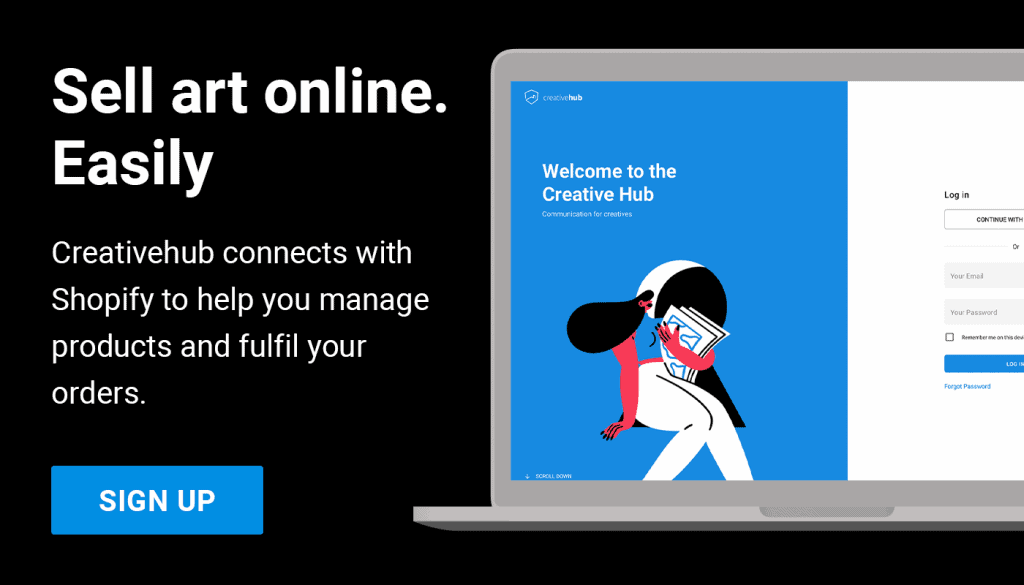
7. Print Sales
Your end of year show is a great opportunity to get exposure which you can use to promote print sales. At creativehub, we provide artists with the tools to sell art prints online via their own bespoke print stores with the fulfilment taken care of by us (yes, that means printing, packaging and shipping) allowing you to focus more time on your exhibition and other upcoming projects. Check out this store for example:
https://store.benjaminhardman.com/
8. Always follow up
Always have business cards on you! You have put a lot of effort into setting up your exhibition so having a killer card that you can leave by your work or hand to the people you talk to is essential. We recommend including this key information: Name, Email address, Phone number, Website, Social Handle.
Keep in mind that if you include your social handle, be sure it reflects your work as an artist. When people hand you over their business card and it is someone you might be interested in working with, always follow up. Send them a short email thanking them for coming to your exhibition.
Need some more advice?
For any more advice on print options, papers, mounting or getting set up with your online print store please get in touch.