The purpose of a print portfolio is to enable you and your work to stand out, and a physical print portfolio is a unique and engaging way to demonstrate your creativity.
In this guide, we’re going to talk about how to use individual prints to build a portfolio, the type you can insert into a portfolio box or folder or send as a mailout.
Whether you’re a photographer, illustrator, designer or visual artist of any kind, a printed portfolio can be a priceless investment. If you’re thinking about taking the next step and aren’t sure where to start, we’ve put together this guide to help you:
1: Before you begin
To build the best portfolio that actively engages the type of clients and commissions you want to attract, you need to figure out what your goals are before you even begin thinking about choices or paper types.
What kind of commissions do you want? What industries do you want more work from? What kind of clients do you want to connect with? Make sure the choices you make reflect these needs.
2: Curate your work
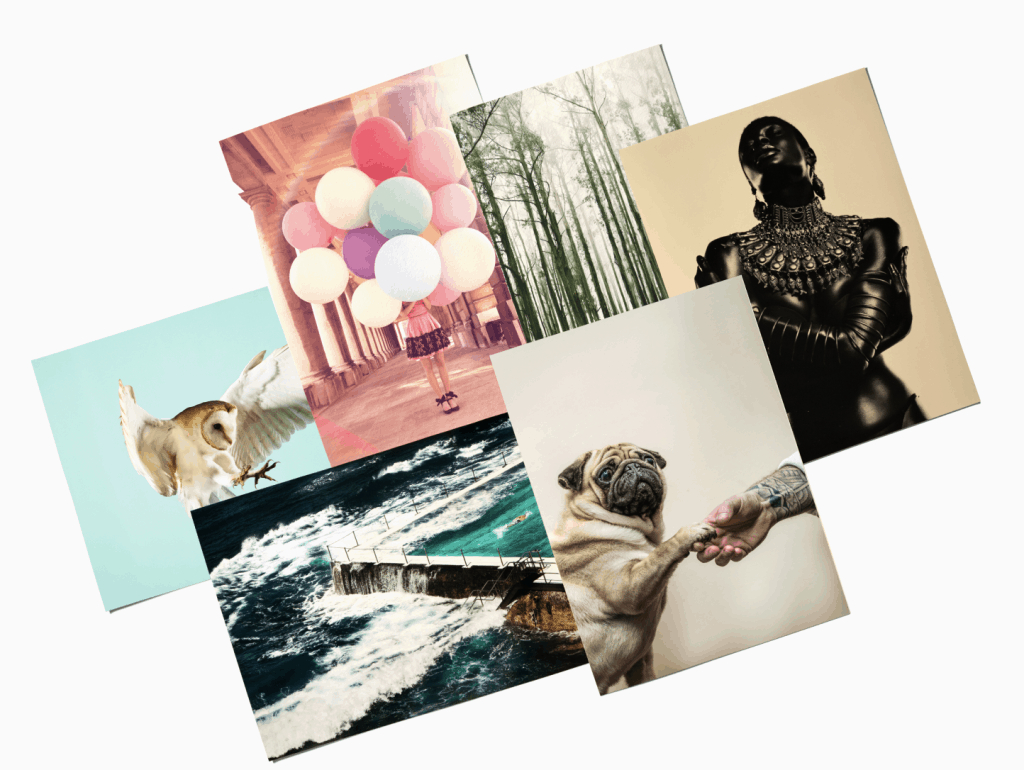
Your portfolio needs to show off your strongest work, and it needs to be tailored to the type of clients and commissions you want to attract. You’ll need to be ruthless.
It’s often challenging to edit our own work so don’t hesitate to ask for help here. Fresh eyes can be highly useful. To that end, consider asking friends, peers, mentors, even your following on social media for feedback.
The number of prints depends on your work, and it can be anything from 10 up to 30 prints. Commercial clients? Keep it short and punchy. Documentary or narrative-based work? Context is important, so a higher number of prints isn’t unexpected.
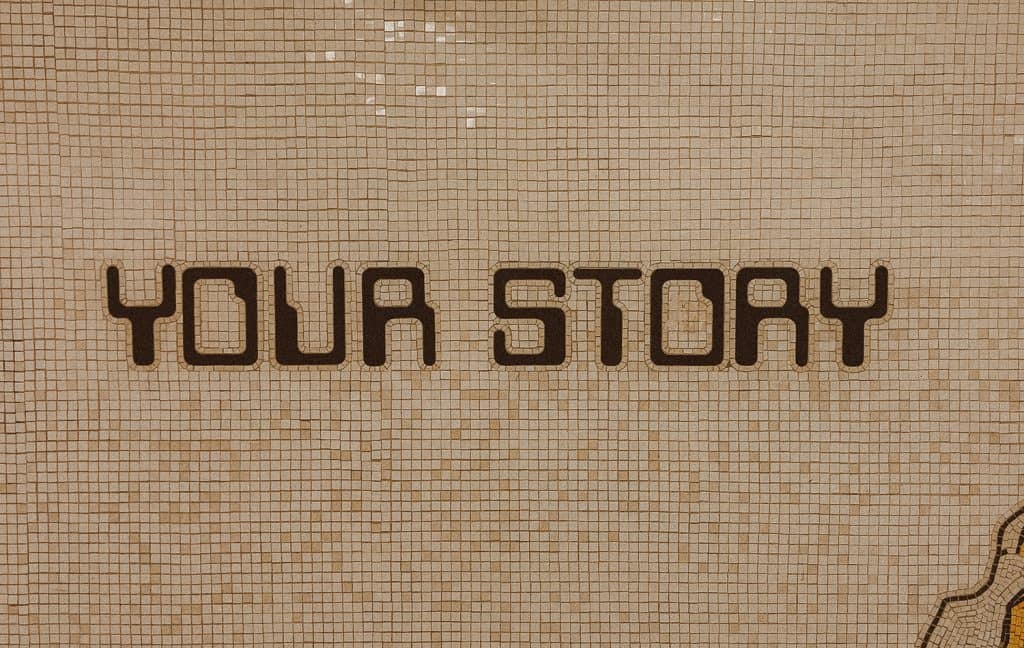
3: For a cohesive narrative
The images within your portfolio should be strong individually, but the entire portfolio should work together cohesively in some way.
What’s the story you want to tell through your work? Use anything from theme, colour, leading lines, a narrative, a subject to tie your images together. Start and end with your strongest pieces.
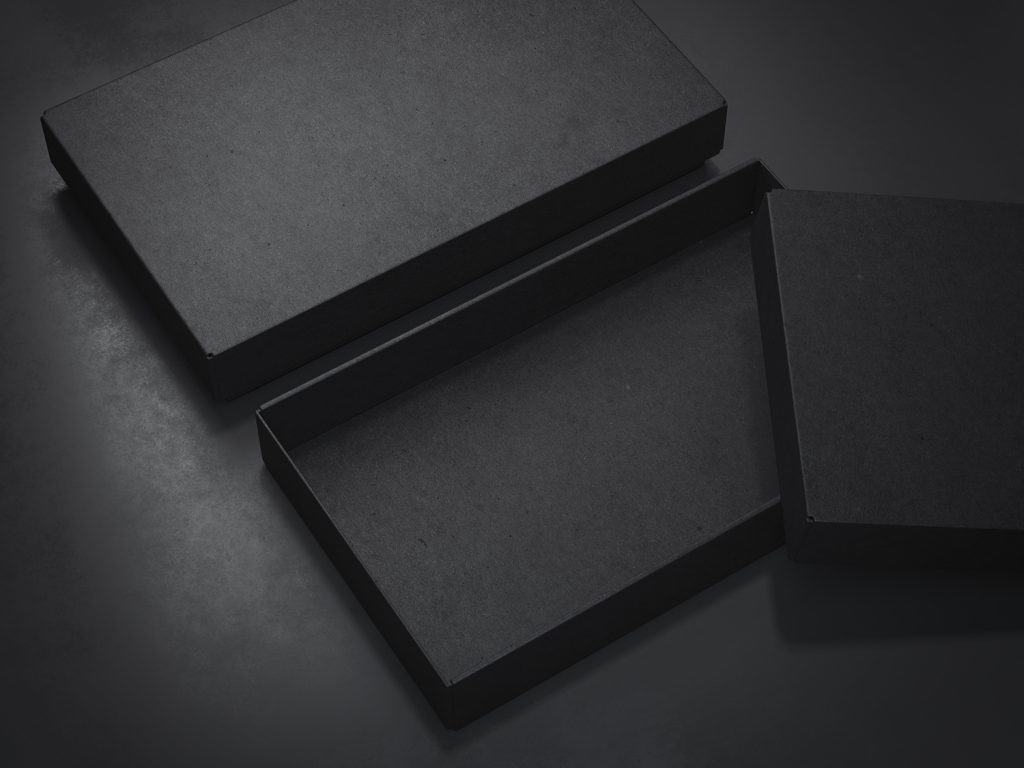
4. Decide on your presentation
Next, think about how you want to present your portfolio because the size of the prints will depend on how you’re going to show them.
There are various ways to physically display the prints you’ll make for your portfolio, from a traditional portfolio box to something completely handmade, or perhaps you want to make a small set of prints you can mail out easily.
Plan out how your print portfolio will look, and size your prints accordingly.
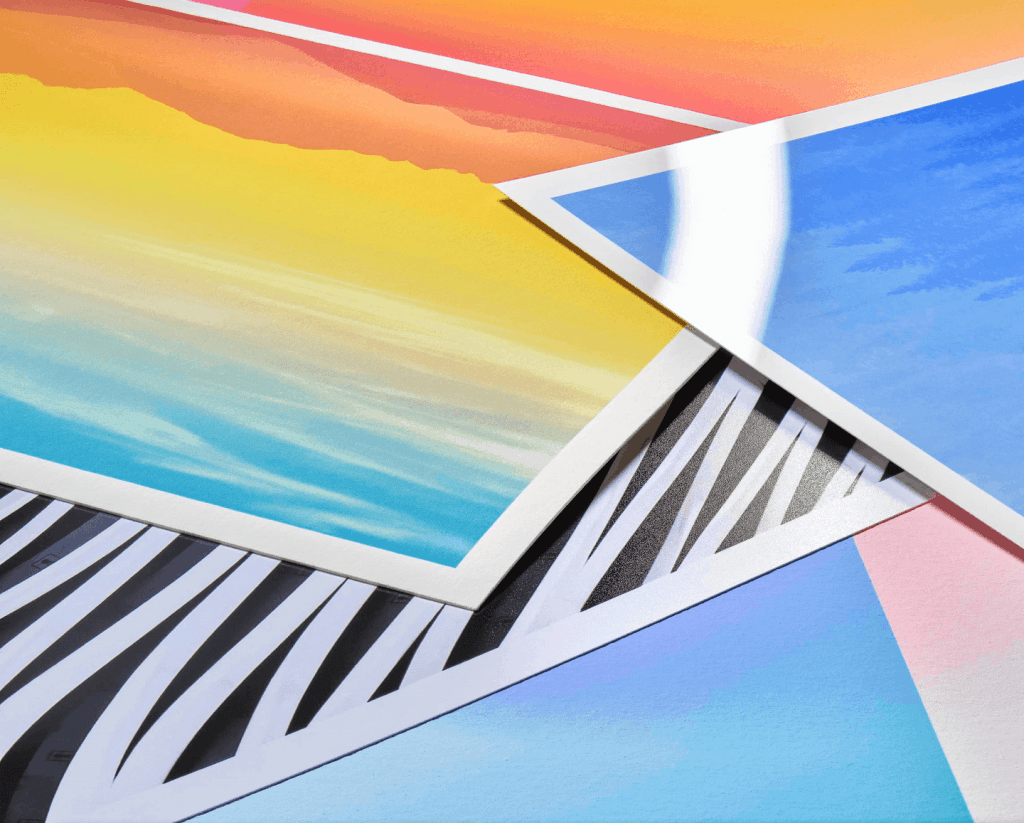
5: Choose your art or photo paper types
Consider the type of paper you’d like to print with. There are many choices to suit your style, whether that’s a glossy C-Type or a textured Giclée. Nowadays sustainable choices are available too. Remember that you don’t necessarily need to stick to one type throughout the portfolio.
Not sure where to start? We offer a great value sample pack to help you decide.
6: Final edits and soft proofing
Take time to work on each of your images and make sure they’re ready to be printed, and don’t forget to soft proof your images by applying the correct colour profile for printing. After this, you’re ready to print!
7: Update your portfolio regularly
The benefit to having a portfolio with loose prints is that you can easily chop and change it, removing older work and adding new pieces easily, and you can also customise it per client.
How often depends on personal preference as well as how much new work you’re producing – and also how often you’re showing your portfolio. One downside to this way of presenting is that your prints can take on wear and tear after a number of viewings, so don’t forget to refresh your existing prints too and keep your portfolio looking fresh.