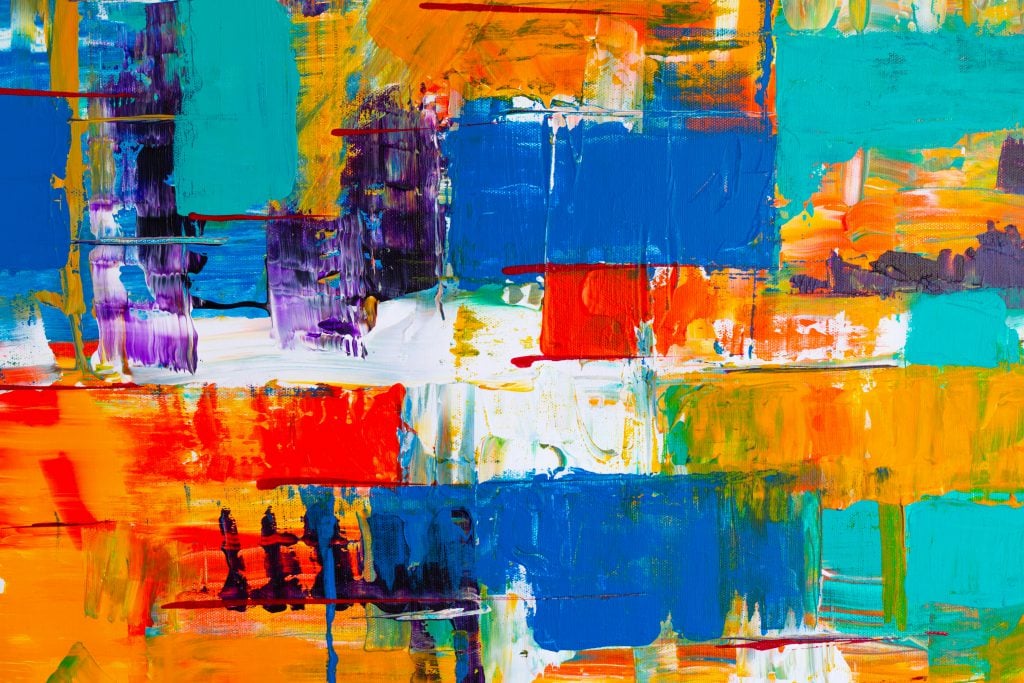
You’ve just finished a piece. It’s still got that fresh-paint feeling. You post it. People love it.
Then someone comments: “Do you sell prints?” and you, being the artist, reply: “Yes – absolutely” and then you stare at your screen like: …Right. Cool. Great.
“How do I make this print-ready without messing it up?”
Because this is the bit nobody tells you: saying “yes” is the easy part. The next part is getting a digital file that actually does your artwork justice with the right colour, detail, and texture, so buyers get what they fell in love with and not a dulled-down remake.
This guide gives you a workflow you can repeat every time you finish a piece so digitising stops being “that thing you keep putting off” and becomes part of your selling system.
What “digitising” actually means
Digitising is simply turning your physical artwork into a high-quality digital file that’s good enough to print and sell, not just post online. It’s not about “making digital art”; it’s about creating a print-ready version of the piece you’ve already made.
The aim is that when someone buys a print, it still feels like the real thing – the same colour choices, the same details, the same energy – not a flatter, slightly-off copy that makes you wince when you see it on paper.
Once you’ve digitised a piece properly, you’ve created an asset you can reuse again and again:
Prints in multiple sizes
Close-up detail crops
Product images for your shop
Content for social posts and reels
Future launches without starting from scratch
Digitising isn’t the boring admin part. It’s the bridge between making work and making sales.
Now let’s get into the how: here are the 6 steps that take you from finished piece to a print-ready file you actually trust.
Step 1: Choose your capture method
There are two solid ways to digitise physical artwork – scan or photograph. The “right” one depends on what your piece is made of, how big it is, and what you want the print to feel like.
1) Scanning (best for flat work + crisp detail)
Go for a scan if your work is line art, ink, pencil, or illustration, is on paper and fairly flat with no heavy texture, and is small enough to fit your scanner or you don’t mind scanning it in sections.
Why scanning works: it’s sharp, clean, and repeatable. Once you’ve got your settings, you can rinse and repeat.
2) Photographing (best for big work + surface texture)
Go for a photo if your work is a painting (acrylic, oil, gouache) or anything with surface texture, is on textured paper or canvas, is bigger than your scanner, or is glossy, layered, or easily flattened by a scanner.
Why photographing works: it can keep the “surface” of the piece – texture, depth, brush marks as long as the lighting is even.
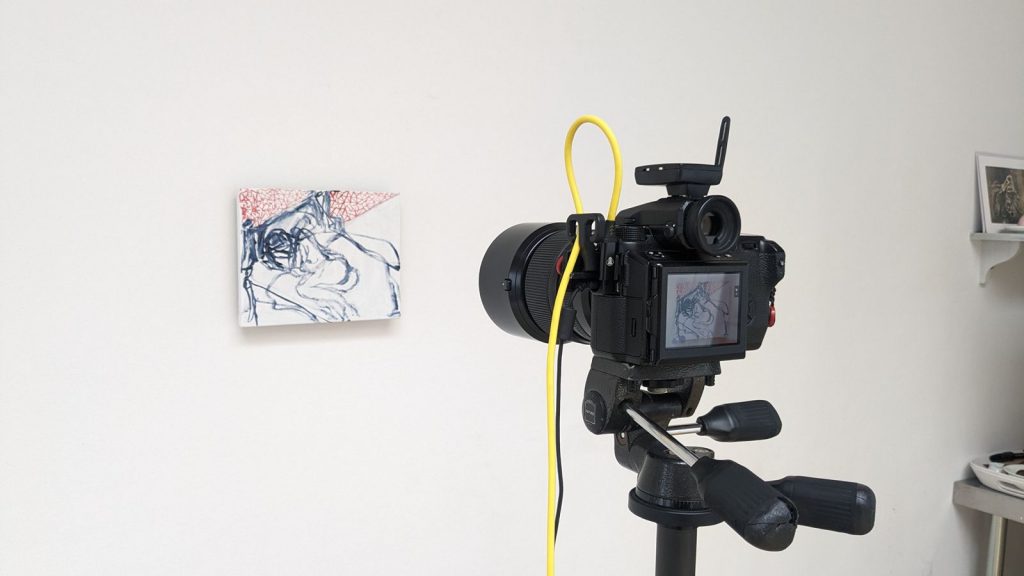
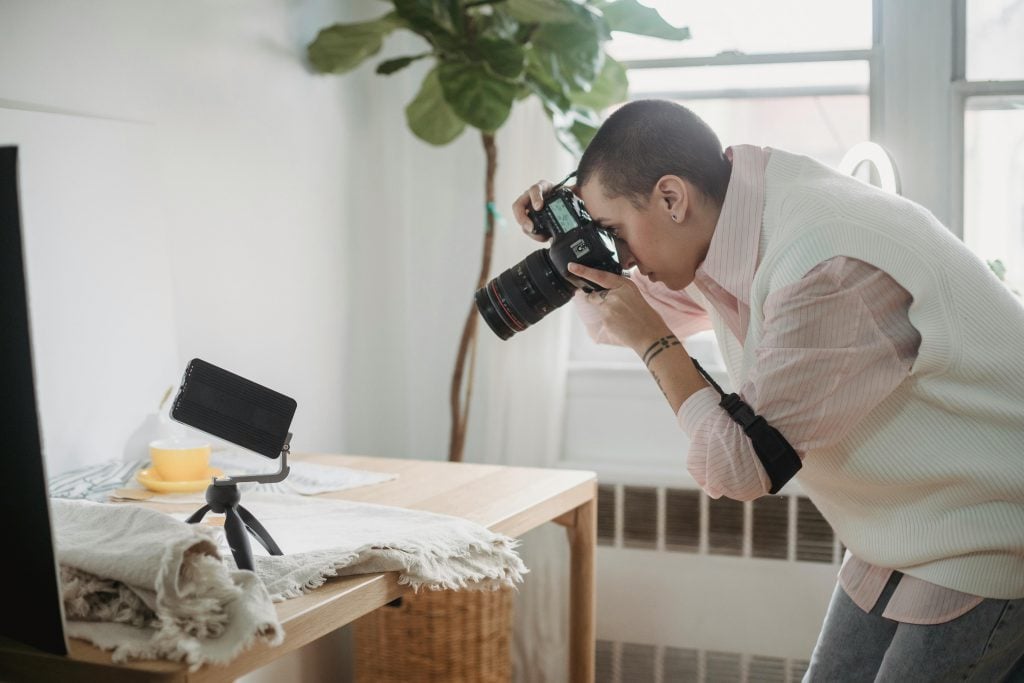
Get it captured professionally
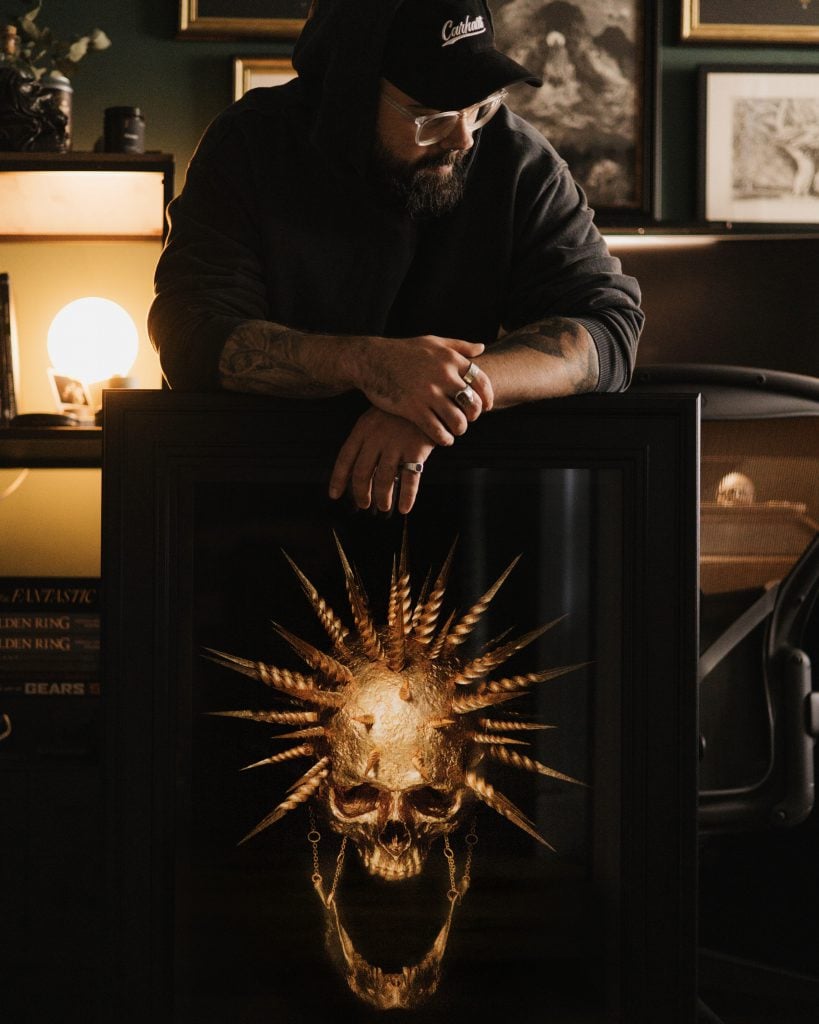
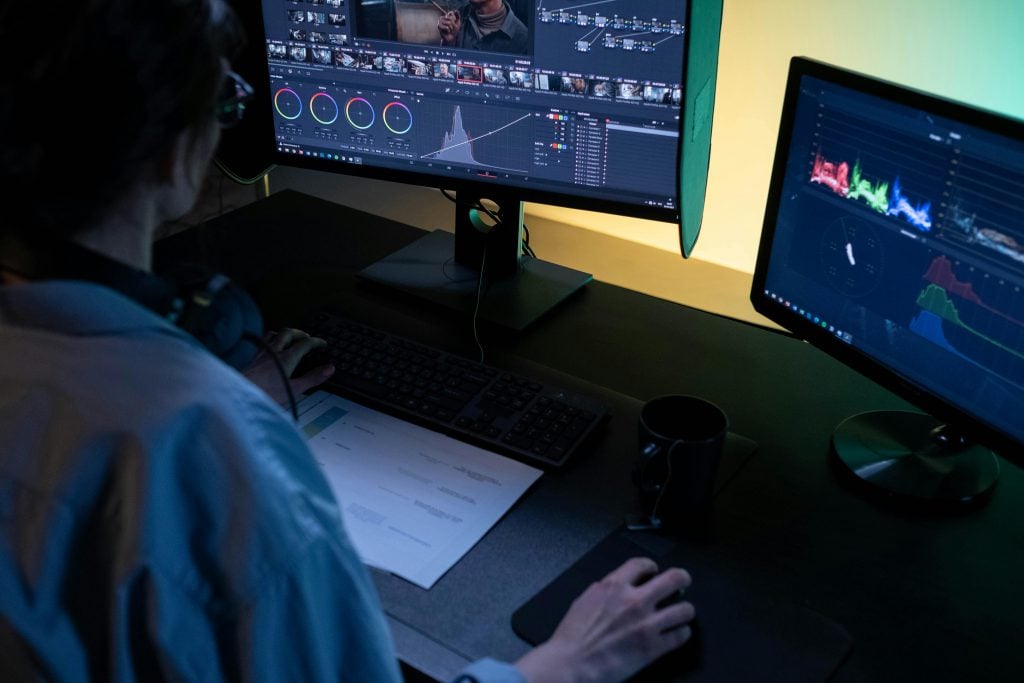
If you’re selling prints, the quality starts way before paper and ink – it starts with the capture. Art Capture Studios are a longstanding collaborator of ours, and we recommend them because their work is consistently excellent. They’re a quality-obsessed agency with a UK-wide roster of specialist photographers focused on precise, colour-matched artwork reproduction, built by people with decades of experience across illustration, fine-art printing, technical photography, curation, and art sales.
What’s especially good is that they handle the logistics and the handling. They can capture work at your place or theirs, and if you want the hands-off option, they offer a white-glove collect & return service: they’ll pack each piece in protective archival packaging, transport it flat in custom-fitted vehicles, and it stays under their team’s supervision throughout.
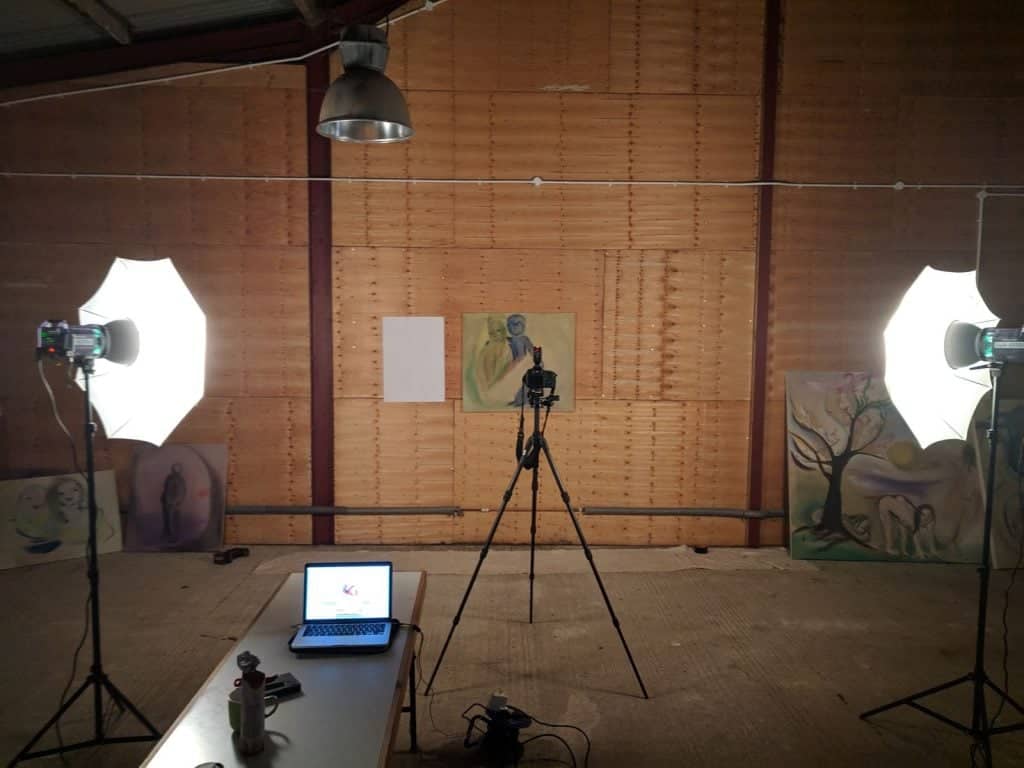
The files you get back are properly geared for print sales too: 16-bit, uncompressed TIFF masters (Adobe RGB) plus smaller JPGs for web/social, with retouching and colour matching included and they aim to deliver within 48 hours.
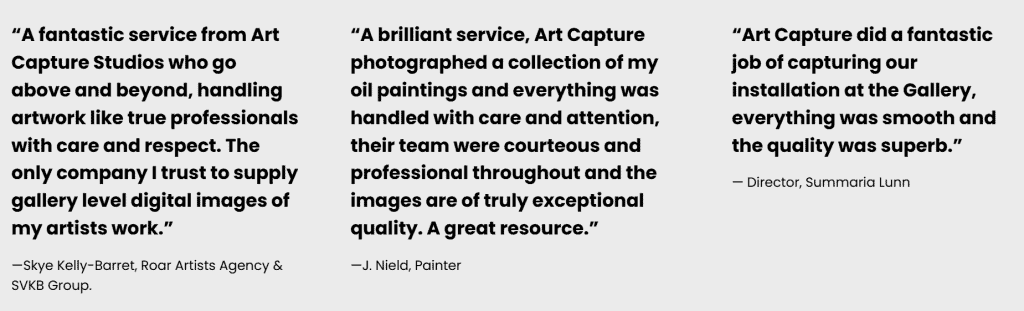
Don’t just take our word for it, here’s what artists and galleries say about Art Capture Studios.
Step 2: The “print file” basics
You don’t need to become a “tech person” to sell great prints. You just need to get three things right because these are the things your buyers will notice on paper.
When it comes to turning artwork into a file you can sell prints from, it really comes down to three things:
1) Sharpness
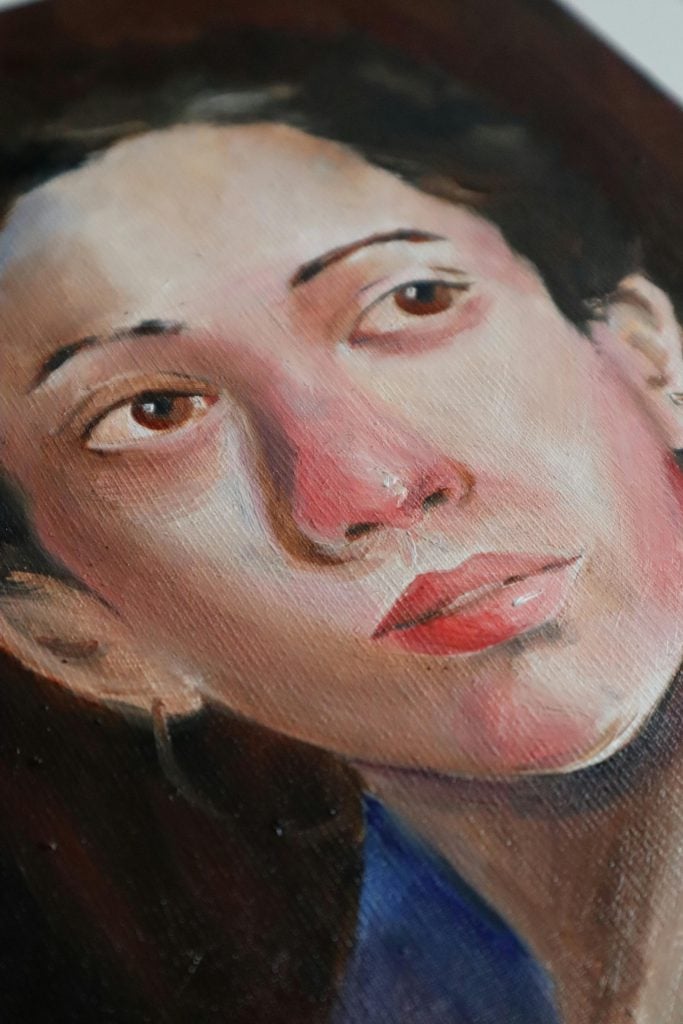
A simple check: open the file and zoom in until you can see the texture of the marks. Look at the edges you care about – linework, brush detail, pencil grain, whatever makes the piece yours. If it already looks a bit soft on screen, it won’t magically sharpen up on paper. You’ll just get a larger, softer version of the same file.
2) Colour
This is where artists get stuck because screens can’t agree on anything. So don’t aim for “perfect on every device.” Aim for: does this match the piece in front of me under decent light?
Edit the colours while the artwork is right next to you, in daylight, so you can match the file to the real piece.
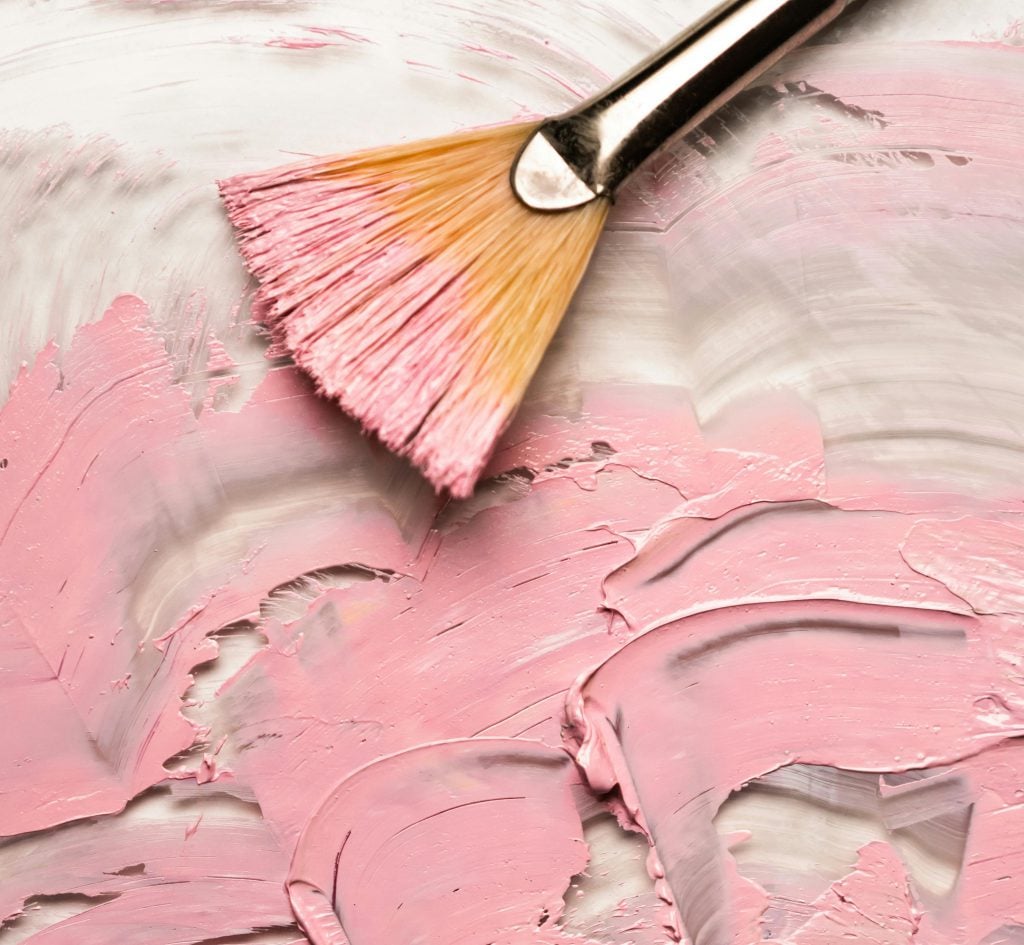
3) Character
Remove things that shouldn’t be there (dust specks, smudges). But don’t try to “clean up” the parts that are meant to be there like paper texture, brush strokes, or pencil grain. Those details are part of your artwork.
Scanning your artwork
Scanning is usually the simplest way to get a sharp, print-friendly file especially if your work is on paper and fairly flat. It’s great when the details matter (linework, pencil texture, neat edges) and you want results that are consistent every time.
A scanner is basically a dust magnifier, so do a quick clean-up first.
Wipe the scanner glass
Gently brush off the artwork (especially dark areas and borders)
Turn off anything that says “auto enhance” or “auto sharpen” (it usually makes your art look a bit… crunchy)
Scan settings that keep you safe
You need to aim for a file that will hold up at print size. For most print products, somewhere between 150–300 DPI is plenty. Going above 300 usually just gives you heavier files, not better prints.
Scan at 300 DPI if you’re printing roughly the same size as the original
Scan higher if you want to sell larger prints than the original
Export settings
When you’re exporting artwork for printing, PNG or high-quality JPEG are usually safe choices, and keeping your colour profile as sRGB (sRGB IEC61966-2.1) helps colours stay consistent across screens and print.
Export as PNG or high-quality JPEG
Keep the colour profile as sRGB (sRGB IEC61966-2.1)
Save a master file you won’t ruin by re-saving (TIFF/PNG/PSD are good options)
If your artwork is bigger than your scanner
Don’t panic, you can scan it in parts and stitch it together. Scan the artwork in sections with a small overlap, keep the paper aligned the same way each time, and stitch the scans together during editing
Tiny hack: put a small piece of tape on the scanner edge as a “placement marker” so each section lines up more easily.
Photographing your artwork
If scanning makes your work look a bit flat or your piece is too big to fit on a scanner, photographing is usually the better move. It’s especially good for paintings, textured paper, and anything where you want the surface (brush marks, grain, layers) to still come through.
You’re trying to get a photo that’s:
evenly lit (no dark corners)
straight-on (no wonky angles)
glare-free (no shiny patches)
A simple setup that works
You don’t need a studio, you just need a repeatable setup. Put the artwork on a wall (or flat on the floor or table if you have to), use bright, soft light with indirect daylight being the easiest option, step back a little and zoom in slightly to help avoid distortion, and use your camera grid to keep everything straight.

The 3 things that usually go wrong (and how to fix them)
1) The light is uneven: One side looks darker, or the colours change across the piece.
Fix: move the artwork closer to the light source / use light from both sides / avoid overhead lighting.
2) The artwork looks “warped”: Edges bend or the piece looks slightly trapezoid.
Fix: make sure your camera is directly facing the artwork (not tilted). Stand back instead of shooting too close.
3) Glare / shiny patches: Common with paint, graphite, varnish, even some papers.
Fix: change the angle of the lights (or the artwork) until the glare disappears.
Phone vs camera
A phone is totally fine if you shoot in good light (most phone “bad quality” is just low light), keep it steady by leaning on something or using a tripod if you have one, avoid the ultra-wide lens because it bends edges, and tap to focus without letting the phone over-brighten everything. If you’re selling lots of large prints, a camera and tripod can make the process more consistent, but it’s not a requirement to start.
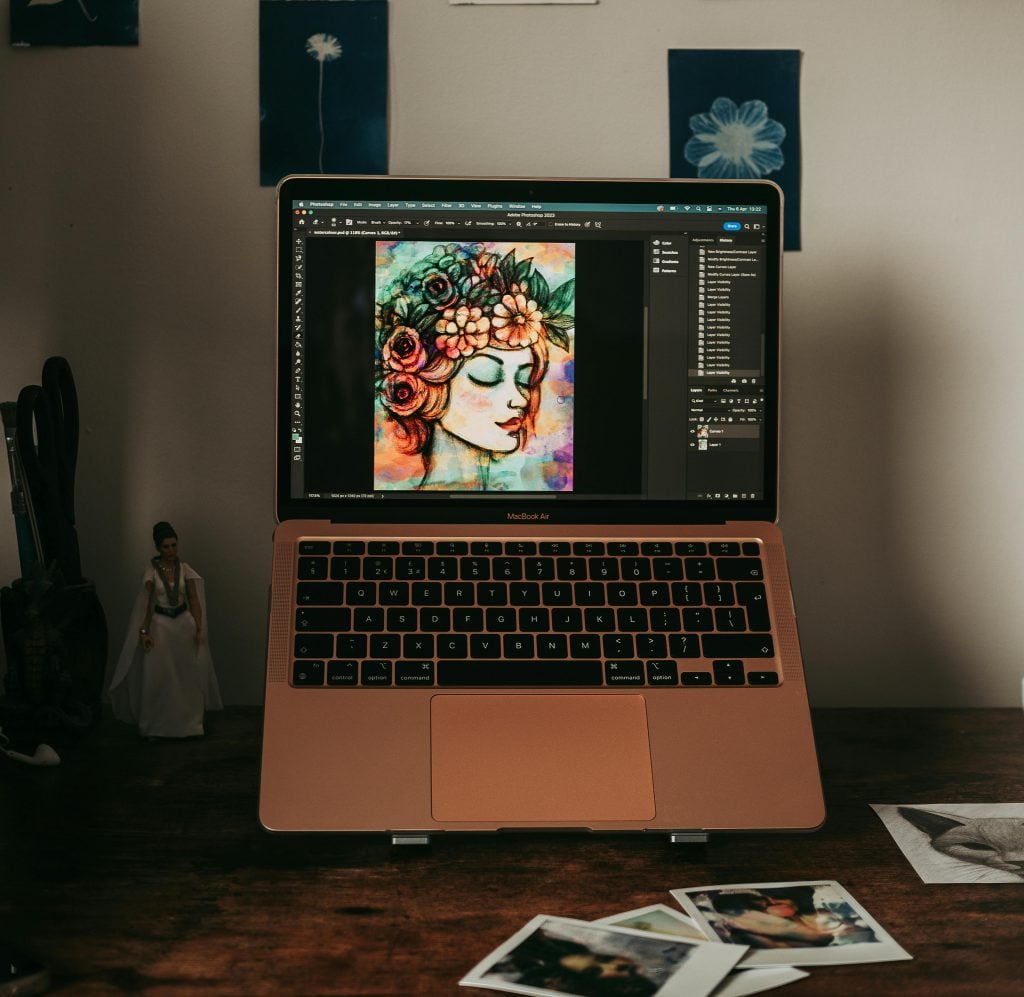
Step 3: Editing
Good digitising is 80% capture, 20% editing. If you find yourself editing for hours, it’s usually because the capture needs improving.
Here’s a clean editing order that works for both scans and photos:
1) Crop and straighten
Start by making the artwork sit properly in the frame: square it up, crop out the background, and get rid of any wonky edges. It’s not glamorous, but it instantly makes the file feel “real.” Straighten the image so the edges aren’t leaning, and crop cleanly, leaving a little breathing room if you want to add borders later.
2) Fix the “washed out” problem (bring back depth)
Scans and photos love to flatten things, so your job is to put the punch back in without turning it into something louder than the original. Do a quick check: are the dark areas still holding detail, or have they turned into a blob? Do the light areas look like paper or paint, or more like a grey haze? Adjust until it feels like the piece again.
3) Match the colour to the original
Don’t edit from memory, put the original artwork next to your screen in daylight (or under one consistent light) and tweak until they match. If the file looks too warm or too cool, adjust it, and if your reds or blues feel “off,” nudge them gently, because small changes always beat dramatic ones.
4) Clean up only what shouldn’t be there
This is where you remove the stuff that sneaks in during scanning or photographing, not the personality of the medium. Remove dust specks, scanner marks, and accidental smudges, but keep the paper grain, brush texture, and pencil grain or charcoal tooth. If it was part of the artwork, it stays, if it’s just mess, it goes.

Step 4: Save your files properly
Once your artwork is digitised and you’ve got it looking right, don’t undo all that work by saving it in a messy way. This is the part that makes selling prints easier later because you’re not re-editing the same file every time you need a new size, a new crop, or a new listing image.
Think of it like this: you want one “master” you protect… and a few “working” versions you can use anywhere.
1) Save a master file first (your “do not touch” version)
This is the file you’ll come back to whenever you need anything else. It should be the highest-quality version you have, saved at full size (don’t shrink it), and in a format that won’t degrade every time you open and re-save it. If you ever need a bigger print size, a new crop, or a cleaner export, this is the file you’ll want to start from.
2) Then make copies for selling + posting (your everyday files)
These are the practical versions you’ll actually upload and share – a version for your shop listings, a lighter version for social that loads quickly, and (if you offer multiple print formats) a few extra sizes so you’re not resizing from scratch every time.
Quick export tip: Save these copies in sRGB (ideally sRGB IEC61966-2.1). It’s the most reliable “common language” for colour when your file leaves your computer.
3) Name your files thoughtfully
If everything is called IMG_3847 you will eventually want to throw your laptop out the window.
A simple naming system that works:
ArtworkTitle_Year_Master
ArtworkTitle_A3_Print
ArtworkTitle_Web
ArtworkTitle_DetailCrop_01
Nothing fancy, just searchable.
4) Back it up
Save your master files in two places: one cloud backup, and one external drive (or a second cloud). It’s not the exciting part, but it’s the difference between a minor inconvenience and losing your whole catalogue.
Bottom line: a clean save system turns digitising into a one-time job and makes every future launch (and every “do you sell prints?” message) much easier to say yes to.
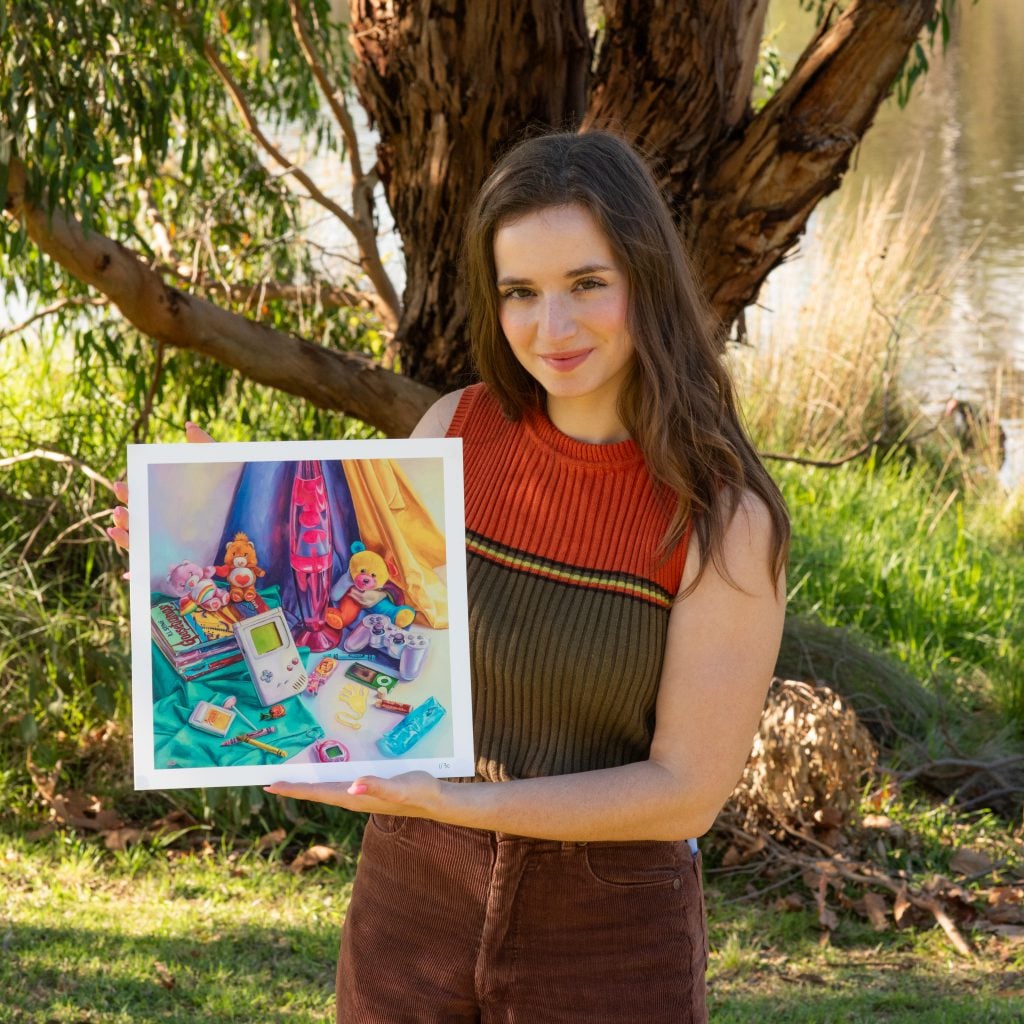
Step 5: Turn one artwork into multiple products (without diluting the art)
Once you’ve got a strong digitised file, you can sell the same piece in a few smart ways without repainting it or turning your shop into chaos. Start with a simple print range – small, medium, and large, then decide whether you want to offer it full-bleed (bold, edge-to-edge) or with a border (classic and frame-friendly). After that, choose how you want to sell it beyond just size: as an open edition, a limited edition, mini prints, or in sets and only use detail crops if they genuinely work as their own thing.
Step 6: The “would I buy this?” print check
Before you upload or print, do this quick check, it catches the stuff that causes “why does this look different?” later.
1) Zoom to 100% (proper close-up)
Pick a detailed area (linework, edges, pencil marks, brush texture) and zoom in. If it looks crisp, you’re good, if it looks soft or a bit mushy, the print will look soft too.
2) Look at the dark areas
Do shadows still have detail, or did they turn into a flat blob?
If they’ve collapsed, you’ll usually need a small contrast/levels tweak.
3) Look at the light areas
Do whites/neutrals look like your actual paper/paint… or have they gone grey/yellow/pink?
That’s a colour cast – common, and fixable.
4) Hunt for dust
Check the edges and lighter areas for specks, hairs, or scanner marks. Remove the dust but keep the natural paper texture.
5) Zoom back out
Does it still feel like your piece?
If it looks “off,” don’t panic. It’s usually one small adjustment, not a full redo.
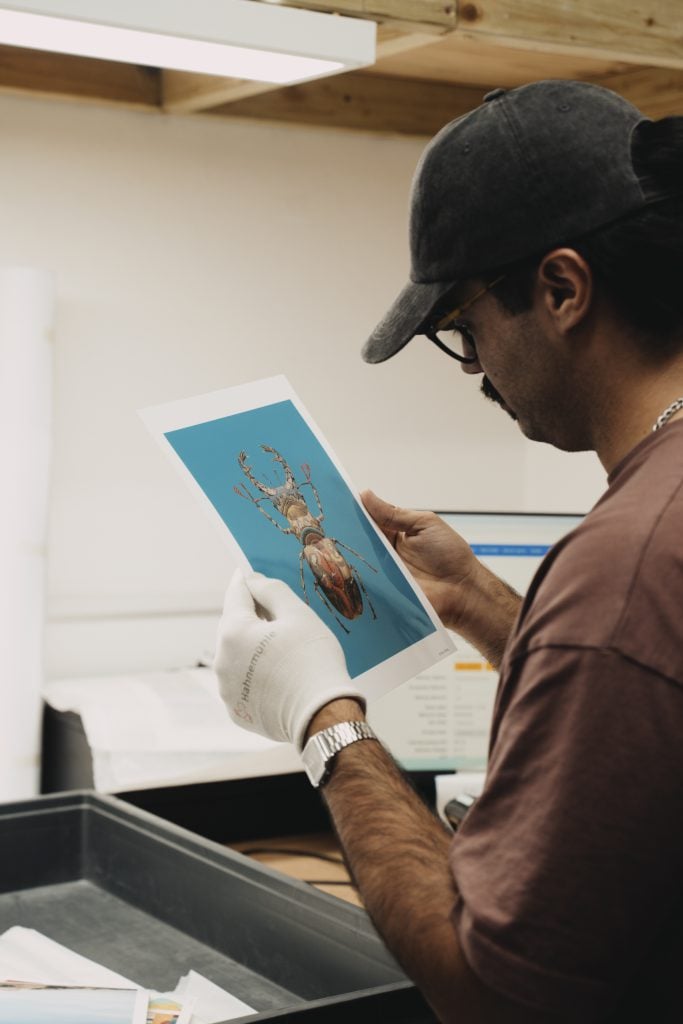
Turning your file into a real print
Once your file is in good shape, the next step is making sure it prints the way you expect. This is where paper choice matters, because different papers handle colour and detail differently. Some papers show fine linework and texture more clearly, some make colours look slightly warmer or cooler, and some handle dark tones better than others. None of this is “better” or “worse” – it just depends on what suits your work.
If you’re not sure what to choose, it helps to see the paper options in person before you commit. A paper sample pack lets you check the surface, the whiteness of the paper, and how your type of artwork usually looks on it which makes the decision much easier than guessing from a screen.
Give your artwork a longer life
Once you’ve digitised a piece properly, it stops being something you can only enjoy in one place. You can offer it as prints, share it confidently online, and bring it back whenever you want for different sizes or new drops without having to redo the whole process each time. It also means you’re not stuck scrambling when someone asks about prints. You already have a file that’s ready.
Whether you scan or photograph, the steps are the same: capture it well, do a few simple edits so it matches the original, save a master file, and export the versions you’ll use for your shop and socials. The first one always takes the longest after that, it becomes a repeatable process you can use for every new artwork.If you want to keep things simple on the fulfilment side too, we can print and ship your orders for you through our print-on-demand service, so you can focus on making work while your prints go out reliably.