In our article, how to create an art store or website that sells your art, we set out 25 steps to making the perfect website. This article acts as a companion checklist to work through these action points.
If you think back to the birth of Instagram, there were two types of people; the ones that just got started, and the ones that waited until they had everything worked out. Who has the most eyeballs on their artwork now? You guessed it; the ones that just got started and worked it out along the way!
Online art sales is also like this. Right now we are seeing seismic shifts in the way art is sold; it is going online, fast. The people who really understand this are the people who are already selling online. So, don’t delay, get your art store launched!
In this article we have broken down our advice in a different way; in order of importance. In doing so, we have created a plan; what you have to do to get launched, and what you can work on after launch.
This plan will take you 3 days to get launched. Then there are another 12 days of investment post-launch to get your site up to best-in-class status. Don’t make the mistake of going for best in class before you even launch!
Steps to launch: 1 to 3 days 🚀
1. Choose the platform
We have done the legwork here…choose a site according to these recommendations.
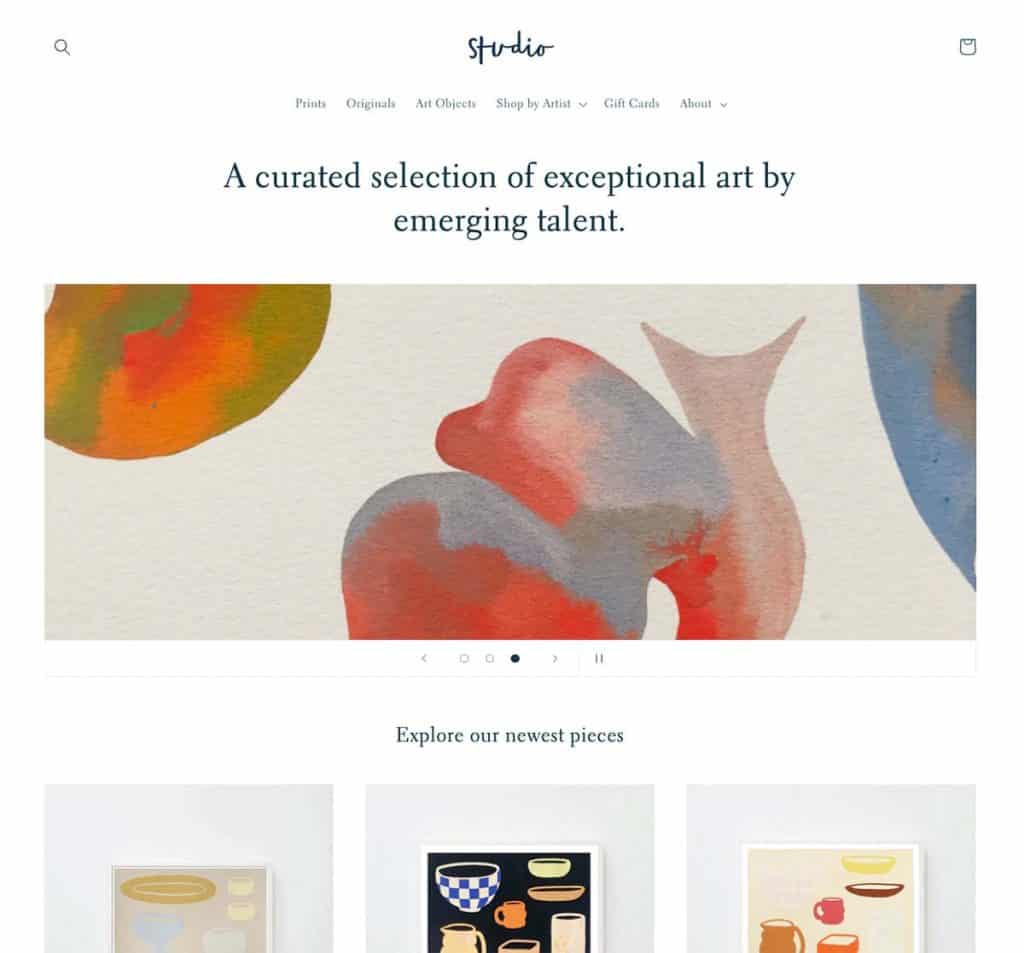
2. Choose a template
Use this list of our favourite templates. Once you find one you like:
(a) Get the trial version.
(b) Add some of your images to the homepage, the store page and the project/folio page.
(c) If you have defined brand guidelines, such as preferred fonts and colours, add those too to check how the aesthetic fits.
(d) If it works, commit to the template.
3. Homepage
(a) Your homepage content will be denoted by the style of the template you have chosen. Some will have a full screen image slideshow, some have sections with links through to different areas of the site.
(b) Choose a hero image or slideshow.
(c) Write the title, your name, your art discipline/activity.
(d) If the template you have selected requires it, or if you want it, then write a short intro text that represents you and describes your work. For example; “Jane Smith is a photographer working predominantly in the areas of portraiture and fashion. Her work has been featured in Vogue, Sunday Times Style and she is renowned for bringing a poppy aesthetic with a classic edge.”
(e) Add your links through to different projects.
(f) Add your store link or set up your ecommerce section!
(g) Add a ‘Get in contact’ panel.
(h) Social links (at the top is best).
(i) Footer with site links, © notice, possibly contact details.
4. Populate your ‘about me’ page
(a) Choose a good upbeat photo of yourself.
(b) Write 150 words about what motivates you to be an artist.
(c) Make a list of links to articles about you (if there aren’t any, don’t worry).
(d) Make a list of your accomplishments by year; art education, group and solo shows, awards, books or zine releases, project completions.
5. Project or folio pages
Group your images into your 3 most recent projects. These will be your project pages. Sorting these out can take a while. If you already have more than 3 grouped, fine. If not, 3 is a great place to launch as it provides some variety.
6. Store pages
(a) To set up your products, visit this link and use one of our quick guides:
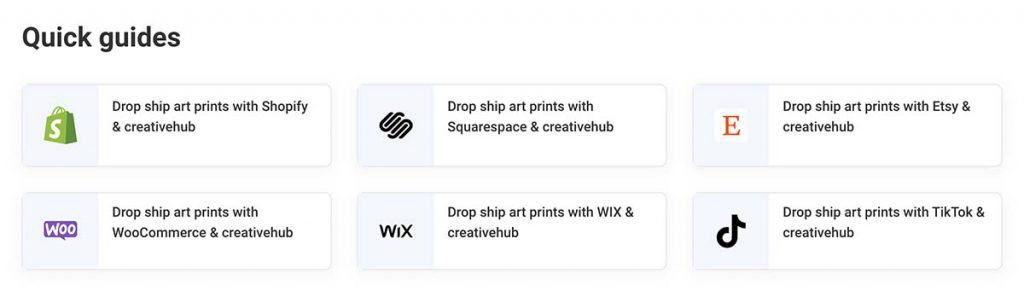
Alternatively, open your free account and click on our guided onboarding process:
(b) During this process you have to set your prices. This can be a tricky, so we have put together this article to help you do that.
(c) Get at least 10 print products setup. When you import the products to your store, then you can make them live and see how your store pages look.
7. Add your pages to the menu
Add the about page, 3 project pages and any other pages you have set up, such as blog to the site menu.
8. Main menu titles
Your menu titles should be universal and easy to understand for those that may not speak your native language. For example: ‘home’, ‘projects’, ‘store’, ‘about’ and maybe ‘contact’ if you have that information on a separate page.
9. Template design
When doing all the above, unless you have clear brand guidelines, try to avoid adjusting the font sizes or colours, and try to stick with the same aspect ratio images that are in the template. This will reduce design drift from the well balanced template you have chosen.
10. Take a step back
Share the password protected website link with some friends and industry peers and ask for their feedback. Then, with fresh eyes, revisit the site yourself and decide if it looks the same as the template. Be careful of design drift; does your populated version look as balanced or tidy as the template? If not, try to modify your content to get back to the template style. If you are having issues it’s time for 1-3 days of a designer’s time to help you adapt and populate the template to make it true to the original template style.
11. Social media & contact details
(a) Add your social links, ideally in the header menu or close to the top in a side menu. The footer is also suitable, but note this will get less click throughs to your social channels.
(b) Make your contact details easy to find, either on a dedicated page or in the footer.
12. Do these things
Basic SEO
(a) For a great 101 in website SEO and why it’s important watch this.
(b) Make sure your site has an SSL certificate. Here is a link to a Squarespace article about SSL certificates but bear in mind SSL certificates work in the same way whatever site platform you use.
(c) Verify your site with Google Search Console. To do this watch this.
(d) Decide the keywords you should first optimise your site for. If you don’t know where to start with SEO we recommend following this simple guide to start with; set up your meta description, page titles and URLs to include these keywords:
Homepage:
First name, second name, your art discipline, one or two descriptive other words.
Contact page:
First name, second name, and the words contact us, you could also add your normal location.
Project page:
First name, second name, the names of your projects, and the medium you use.
About page:
First name, second name, your discipline and the words CV, exhibitions, publications & awards (as appropriate).
Store page:
Buy art, order art prints, your name, your project names and your discipline.
Below is a worked example of the above. For this, let’s pretend you are Damien Hirst
Homepage:
URL: damienhirst.com
Title: Damien Hirst | Fine Artist | Turner Prize Winner 1995
Meta description: Welcome to the website of Damien Hirst, renowned fine artist and Turner Prize winner in 1995.
Project page:
URL: damienhirst.com/spin-paintings
Title: Damien Hirst | Fine Artist | Spin Paintings
Meta description: Damien Hirst Fine Artist started producing spin paintings in 1992.
Contact page:
URL: damienhirst.com/contact
Title: Damien Hirst | Fine Artist | Contact
Meta description: Contact details for Damian Hirst, Fine Artist.
Store page:
URL: damienhirst.com/store
Title: Damien Hirst | Fine Artist | Buy Art Prints
Meta description: Buy fine art edition prints of a range of Damien Hirst’s art. Order online for worldwide delivery.
Note: to understand what a meta description, page title and URL is watch this.
Set up a newsletter
Set up a newsletter service and start capturing contact details on your site. If you integrate the newsletter service with your site or store using one of the apps, then this will automatically start populating a mailing list for you. There are some free services out there with site plugins, like https://www.mailerlite.com/.
13. Improve your store checkout
(a) State your returns policy clearly. You could use this:
We absolutely guarantee your satisfaction and that your order will arrive in perfect condition and will match the specifications on our website. Defective and damaged prints will be immediately replaced. If you change your mind about your artwork, we will consider returns on a case-by-case basis, as artworks have to be made specifically for your order. This does not affect our statutory rights under Distance Selling Regulations.
It is important to note that theprintspace will immediately replace damage or defective prints that we deliver on your behalf, though we may require photographic evidence of the defect or damage. It is up to you as to whether you want the damaged or defective goods returned to you. In terms of the customer changing their mind, again this is up to you as to how lenient you want your position to be. Returns will be made to you. Whilst we unfortunately will not be able to refund the cost, you could of course re-sell the print.
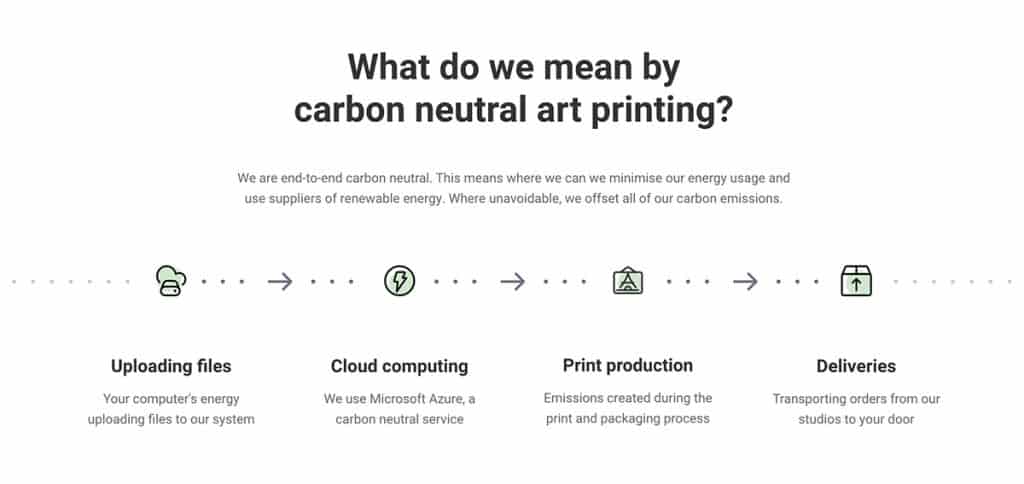
(b) We are end-to-end carbon neutral, so if you use our drop shipping service then state that you are carbon neutral from order through to delivery. Packaging is also 95% plastic free across your range. You can learn more about this on our sustainability page.
(c) Make sure you have activated Paypal, GPay and Apple pay as well as the standard card payments. This is essential for mobile commerce sales.
(d) State that you ship globally and the what standard delivery times are.
(e) Make your delivery free and just increase the print cost to offset it.
Post launch: 4 to12 days
The sooner you get your site live, the quicker you can start understanding what people like about it, what questions they ask you (therefore what content to add) and the sooner you can make some sales to help you invest back into the site and the marketing.
For our in-depth post launch tips, read our article 25 steps to creating a store or website that maximises art sales!
Here are some ideas to get you going:
(a) Make a video about you, your work or your most recent project. Make this creative and fun.
(b) Photograph your packaging and prints with certificates and branding on your packaging.
(c) Get some photos done of your working process. Make them varied add them across your site from the homepage to the store pages.
(d) Upgrade your print scaling images to be more unique and complimentary to your work (our ones are purposefully generic). Find an image in a stock library or use a service like www.canvy.com.
(e) Show the print quality. You can use any of these assets if it helps
(f) Write your first blog piece and newsletter. We suggest a ‘making of’ blog piece for your most recent project, which you send out with a newsletter offering a free shipping for your newly launched print store.
(g) Add the following:
If you have offices, a studio or location for your business, set up a Google business profile. Watch this.
Add in the image Alt Tags. This helps with site accessibility but also with your images appearing in Google image search.
(h) Start monitoring your analytics to understand where your traffic is coming from and what traffic sources are leading to the highest number of sales.
(i) Plan your first timed flash sale, or print drop.
Good luck with your art print sales and remember, getting launched is the goal, not making it perfect. Perfection is something you work towards over time.